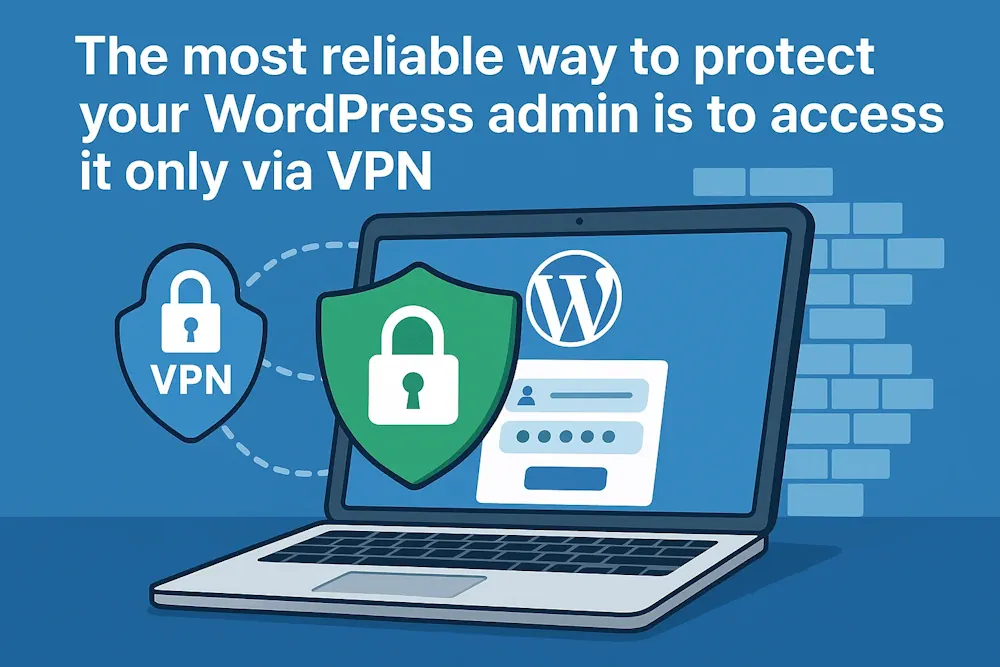
The most reliable way to protect your WordPress admin area is by accessing it only through a Virtual Private Network (VPN) and IP. As a cybersecurity expert with years of experience, I can confidently say that restricting access to the /wp-admin area from only one IP is one of the most effective methods to protect your website. And if that IP is your own, hosted on a Virtual Private Server (VPS), you will have almost impenetrable protection against most types of attacks.
In this article, we will discuss:
- Why it’s safe
- How to set up your own VPN
- How to allow access to the admin panel only through the VPN
Why is it so safe?
The WordPress admin login page (wp-login.php and wp-admin) is the main target for brute force attacks, vulnerability scans, and bots. Even with a strong password and brute force protection, attackers can still send thousands of requests to your server, loading it and testing for weaknesses.
But if you block access to the entire admin area for all but one IP, you are solving the problem at its root. It’s just that no one will even see the login page except you.
And if this IP is not your “white” home address (which may change), but the IP address of your VPN server, you get:
- a permanent secure channel to the site
- independence from providers
- the inability to fake an IP
Here’s how to set up OpenVPN on an inexpensive VPS.
Step 1: Buy a VPS.
Any Ubuntu VPS will do (from Hetzner, Contabo, Time4VPS, or DigitalOcean, for example). The rate starts from $3 per month. Requirements:
- Ubuntu 20.04 or 22.04
- root access.
Step 2: Install OpenVPN (via script)
Connect to the server via SSH.
ssh root@YOUR_SERVER_IP
Download the official installation script.
wget https://git.io/vpn -O openvpn-install.sh
chmod +x openvpn-install.sh
./openvpn-install.sh
Follow the instructions. The script will:
- install OpenVPN
- create the configuration
- give you the .ovpn file.
When it asks for the server’s IP, confirm the current one. Use UDP as the protocol. Leave the port at 1194.
After completion, you will have a file called “client.ovpn”. Please copy this file and import it into your OpenVPN client.
Step 3: Connect via VPN
Install the OpenVPN GUI (for Windows) or Tunnelblock (for macOS) on your computer, or use the built-in client if you’re using Linux. Import the client.ovpn file, connect, and you will receive the IP address of your VPS.
Restrict access to the wp-admin area
Now, you need to configure your site so that only this IP can access the wp-admin panel and wp-login.php.
If you’re using Apache, add the following to the .htaccess file in the root of your site:
<Files wp-login.php>
Order Deny,Allow
Deny from all
Allow from YOUR.VPN.SERVER.IP
</Files>
<Directory /wp-admin>
Order Deny,Allow
Deny from all
Allow from YOUR.VPN.SERVER.IP
</Directory>
If you use Nginx, add the following to your site configuration file (usually /etc/nginx/sites-available/your-site):
location ~* ^/wp-login\.php$ {
allow YOUR.VPN.SERVER.IP;
deny all;
}
location ^~ /wp-admin/ {
allow YOUR.VPN.SERVER.IP;
deny all;
}
After making the changes, restart your Nginx or Apache server.
What do we get as a result?
- 100% protection from external access to the admin area
- Own VPN — only you know the configuration
- No load from bots and attacks
- No captchas, plugins, or crutches.
This approach is used in real combat projects where security takes precedence — especially on sites with important information, payment systems, and admin privileges.
Bonus: you can connect employees
You can generate several .ovpn files (one per user) and give them to those who should have access. Everything is under control.
If necessary, we can help set up such a VPN and turnkey protection. It really works.


